Account
- Any person with an account in BNL SDCC or BNL ITD Active Directory will be able to use BNLBox.
- To obtain a BNL SDCC account, please follow these instructions.
- To obtain a BNL ITD Active Directory Account, please follow ITD's instructions.
- To initialize your storage account:
- Go to https://bnlbox.sdcc.bnl.gov
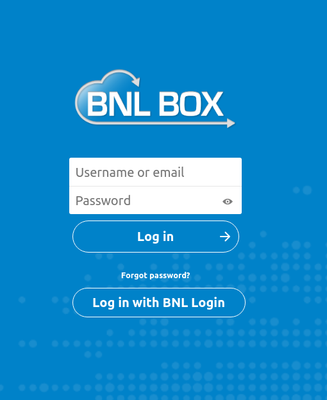
- Click "Log in with BNL Login". This should redirect to the page shown below.

- On this login page, you must choose either to use (1) SDCC account or (2) BNL ITD's Active Directory account. NOTE: Once you chose the account option, you can not go back and forth.
- SDCC account: Fill your username/password in the left
- BNL ITD's Active Directory account: Click the icon on the right.
- This will initialize your account, which is given 50 GB of space by default. More space can be requested if needed via a help ticket.
- Go to https://bnlbox.sdcc.bnl.gov
Using BNLBox
- Use your browser. The browser is the easiest method to access your cloud storage.
- Login at https://bnlbox.sdcc.bnl.gov
- Once you log in, you will see the basic directories.
- Your login initial should be indicated at the top right corner.
- The image of blue color folders
 indicates directories or folders in the system. To go to the directory, just left-click on the name of the directory.
 - To upload your file, just left-click
 sign at the top of the page. This will bring up the
 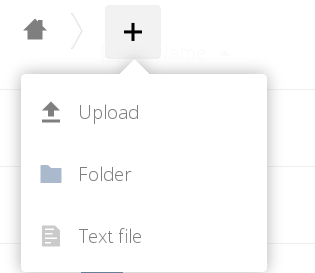 options. Left-click on the "Upload" option will allow you to choose your file(s) for uploading to the BNLBox service.
 - To create a new directory/folder, just left-click
 sign at the top of the page like uploading a file. Then, the left click on the "Folder" option will allow a user to create a new folder with the desired name.
 - To download files left-click the corresponding preview icons to show the
 sign. This will bring up the "Download"
  option at the top of the page. Just left click to start the download of those files.
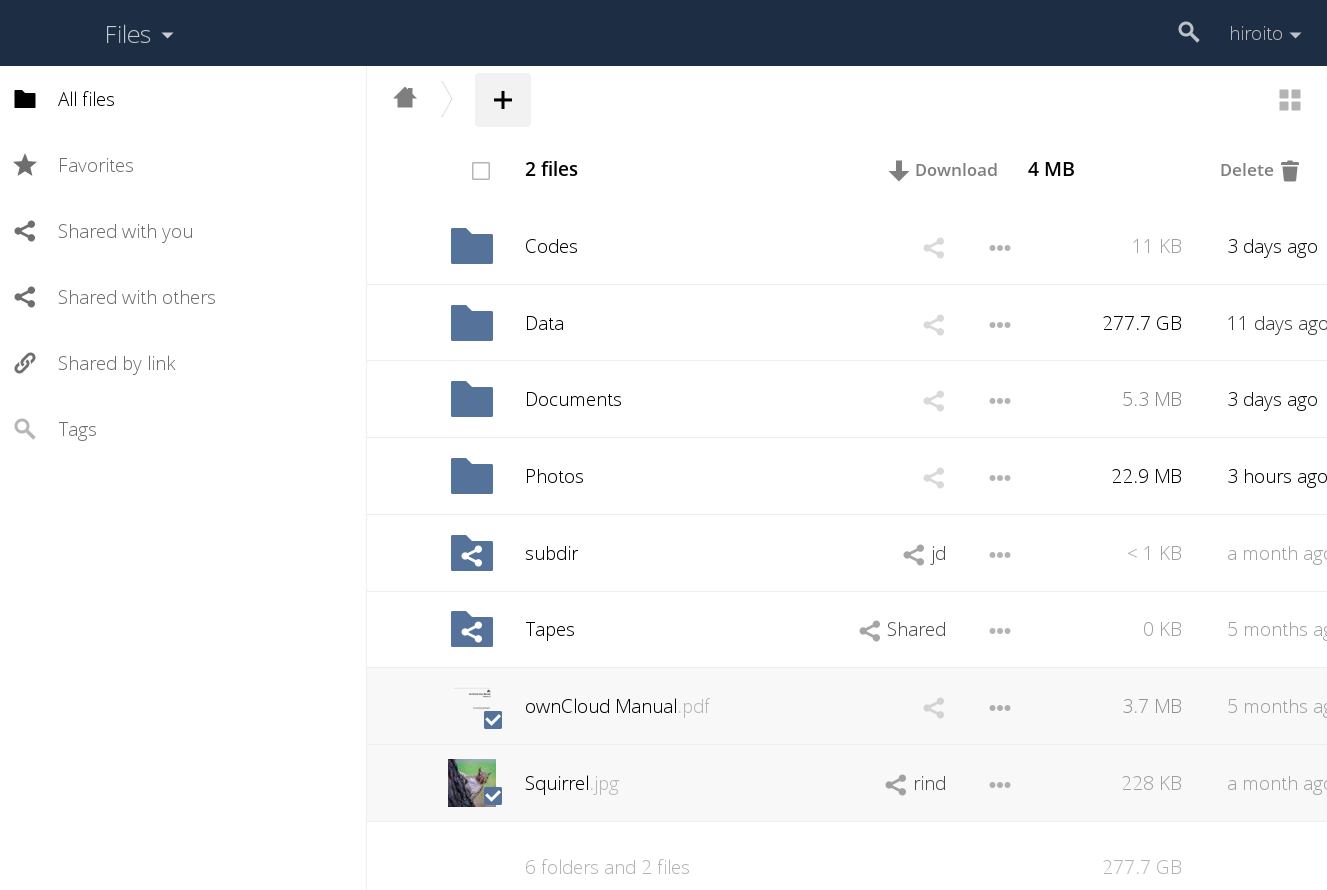
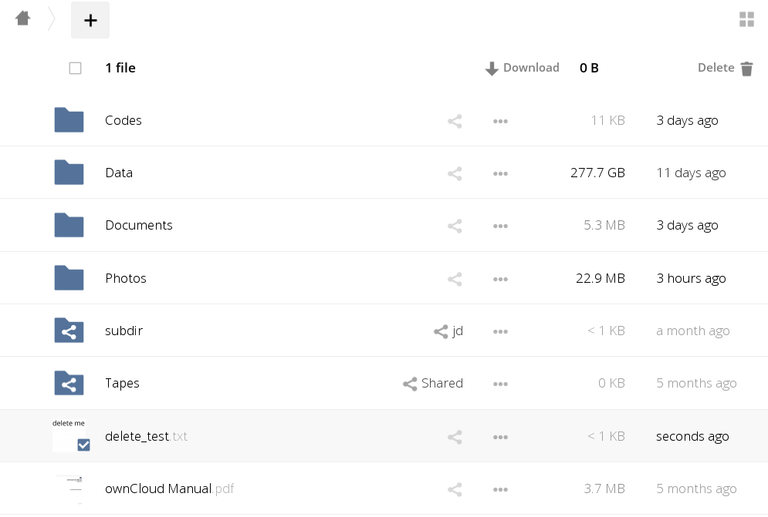
- To delete files, left-click the corresponding preview icons to show the
 sign. This will bring up the "Delete"
  option. Just left-click this icon to delete the selected files.
 -
- To share data, left-click on the share icon
 . This will bring up the sharing option on the right side of the page.
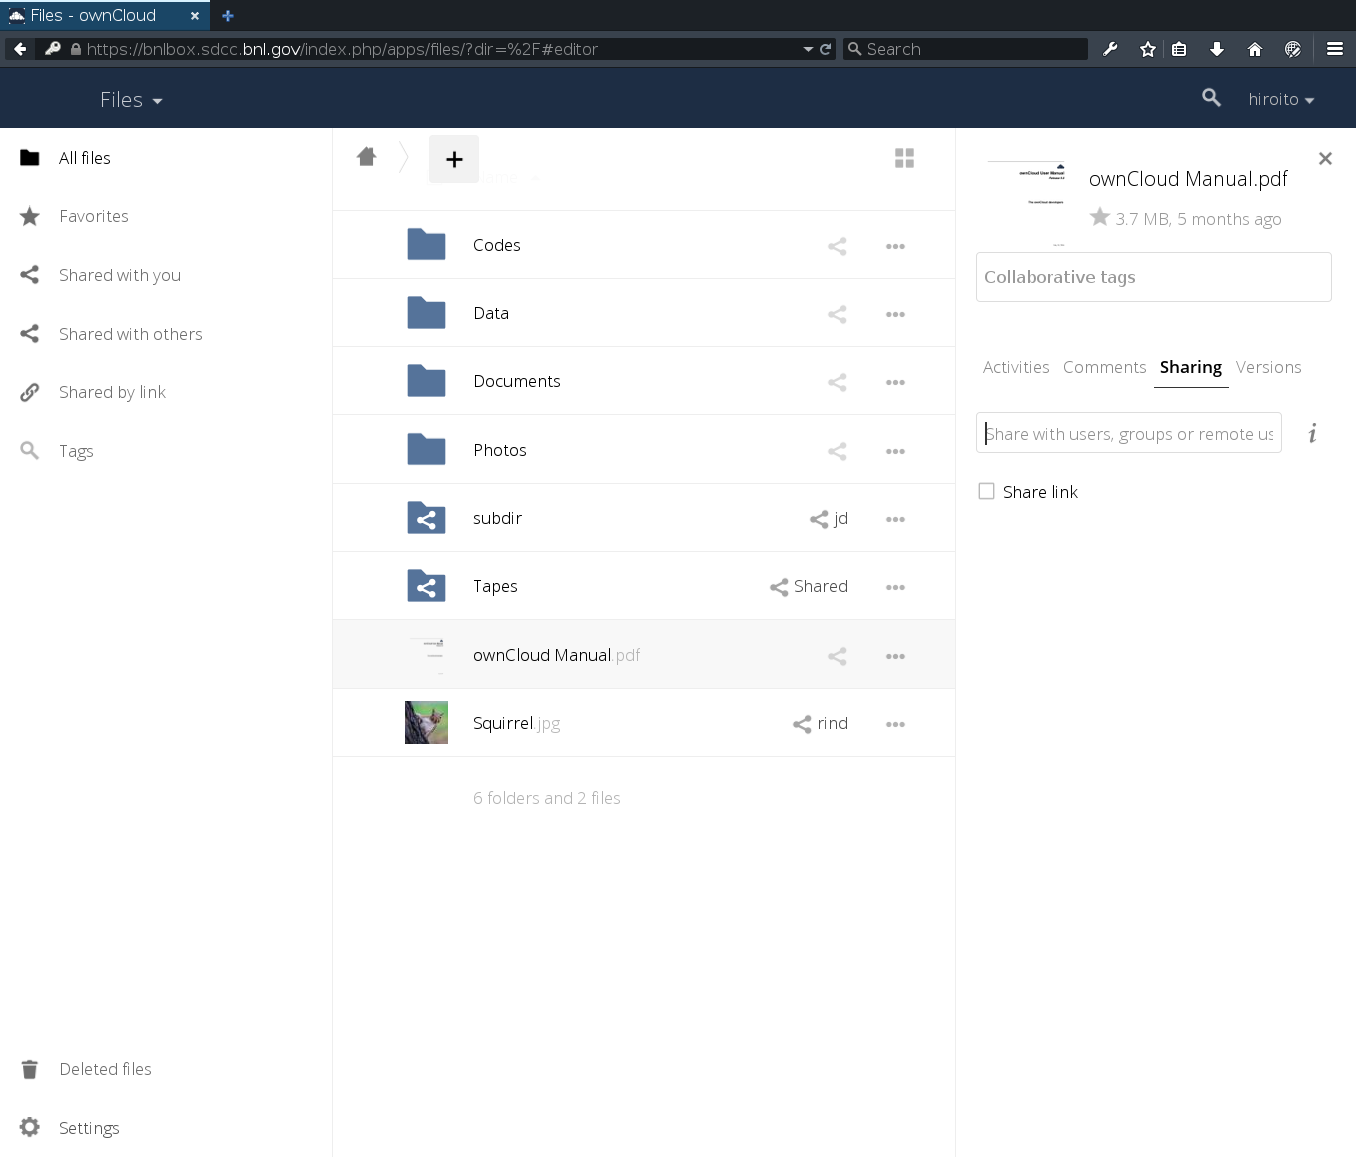
- To share with the user of BNLBox. Type the name of the desired user name in the box. Once the search has finished, select the user.
- To share with external users without a BNLBox account, you have a few options.
- "URL" with a password. By selecting "Share link", you can generate the username with a password of your choice. Then, you can inform the external users with this URL to any other users with the corresponding password.
- "Email". By typing the email address of the external user, the BNLBox will send the external users the email with the URL.
- "Guest Account". By typing the guest account name, it will generate the guest account and send the email to an external user about the invitation for the guest account.
Clients
There are various clients available to use for your access to the cloud storage service at BNL
- Desktop/Laptop You can download it from the following link https://nextcloud.com/install/#
- Windows
- By default, it will create the "nextcloud" directory in C:\Users\YOURUSERNAME\nextcloud directory. (One can choose a different directory) The content of this directory will be synchronized with the cloud storage.
- Mac
- Linux
- Windows
- Mobile devices. You can find the instruction at the following link https://nextcloud.com/install/#
- Android
- IOS
- Others : NOTE: Please use the default app if it satisfies your need.
- If you have a very large amount of data or if you want to use the storage like un-cloud storage like good-old copy command, there is a custom command to upload/download data. It is located at https://bnlbox.sdcc.bnl.gov/index.php/s/P4HKdmYaxiP2FYa You need "ruby" language, "ruby " is available in mac/linux/windows if not installed already (https://www.ruby-lang.org/)
- ruby copy_bnl_box.rb -h
Examples
- Copy a local file to BNLBox
ruby copy_bnl_box.rb /A/B/C/myfile.data box:/Data/myfile.data
- Copy a local directory and its contents to BNLBox
ruby copy_bnl_box.rb /A/B/C/MyDirectory box:/Data/MyDirectory
- Copy a remote file in BNLBox to a local location.
ruby copy_bnl_box.rb box:/Data/myfile.data /A/B/C/myfile.data
- Copy a remote directory and its contents to a local location.
ruby copy_bnl_box.rb box:/Data/MyDirectory /A/B/C/MyDirectory
- Copy a local file to BNLBox
- Usage:
copy_bnl_box.rb [options] source destination
NOTE: to specify the owncloud storage, you need to append 'box:' to your path seen in your BNLBox service-h, --help Display help message-s, --https_proxy ProxyHost Set https proxy-r, --url URL Set none-default url-p, --password password Set User Password-u, --username username Set User Name